
Your Spring Canoe Maintenance Checklist
Canoeing in the spring is one of the most meditative and peaceful experiences you can have on the water. There are flowers everywhere, and very few other paddlers to interrupt your calm early-season journeys. Before you bring your canoe into the water this spring, however, you must first inspect and prepare your vessel to ensure it’s safe and ready for the paddling season ahead.
The first step in spring canoe maintenance is to remove your canoe from storage and sweep out debris. Next, check hardware, especially metal. Remove rust, tighten bolts, and replace hardware as needed. Wash the interior, and inspect for damage. Flip your vessel and inspect for scratches, discoloration, and weather damage before applying a UV protectant. Inspect oars or paddles, seats, PFDs, and cushions, and replenish your first aid kit.
Canoes, like all paddling vessels, require some attention and care each spring to ensure they remain safe to operate. Since these boats are typically too large to store indoors, they are frequently kept outside in the winter, which usually requires extra cleanup and inspection. If you own a canoe, then keep reading to ensure you take all the necessary steps to prepare it this spring.
Essential Tasks To Remember When Preparing A Canoe For Spring
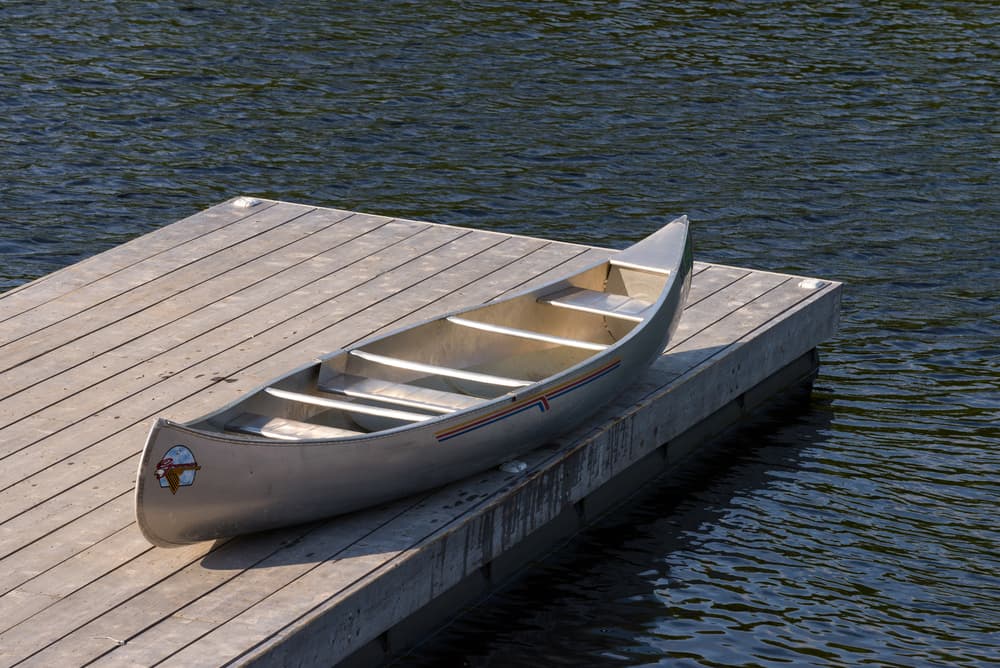
1. Sweep Out All Debris
Once you remove your canoe from its storage location, the first step in preparing it for a new season is cleaning it. Canoes are often stored outdoors or in sheds. Even when these vessels are covered, there’s still a strong possibility that there is dirt and debris inside the boat after a brutal winter.
Wipe all dirt off the vessel’s exterior, and then flip it over to sweep inside. Use a broom and dustpan to remove large debris, and then use a duster or microfiber cloth to remove smaller particles. Once you clean out the dirt, you are ready to move on to the next steps.
2. Check All Hardware And Metal For Rust And Damage
Once your vessel is clean, it is ready for a thorough inspection. The first parts of your vessel you should check after a winter in storage are all essential hardware, especially anything made of metal.
Check bolts, screws, and rivets. Remove rust, tighten bolts, and take note of any pieces that require replacement. You must replace all damaged rivets, crews, and other hardware before you can confidently launch your canoe safely this spring.
3. Inspect Canoe Interior For Damage
After you check the hardware, you should give the entire interior a thorough inspection. Look for cracks and deep scratches. If anything looks suspicious, address it immediately. While damage is usually found on a canoe’s exterior, improper storage and particularly harsh winters can also damage the inside.
4. Pay Particular Attention To Hiding Spots In Stern And Bow
If you stored your canoe outside and didn’t fully cover it, there’s a chance it may have become a shelter for rodents over the winter. Use a flashlight to look inside your stern and bow areas, and remove all debris and organic matter from these areas.
If you do find evidence of burrowing in your vessel, carefully remove the debris using gloves. Moving forward, you should consider investing in a cover that fully protects your canoe, as burrowing rodents can cause serious damage.
5. Wash And Clean The Canoe With Gentle Cleaner And Water
After you’ve thoroughly swept and inspected your canoe’s interior, it’s time to scrub it down. Use water and a gentle cleaner, like dish soap, Simple Green, or another cleaner with no harsh chemicals. After you scrub the vessel, hose it down and remove all soapy residue.
Once the interior is dry, you are ready to flip it and start with the exterior.
6. Check Your Canoe Exterior For Cracks And Discoloration
Your canoe’s exterior is more likely to experience damage in the winter, since canoes are flipped upside down for storage. If you store your canoe outdoors, branches and debris can fall on it, causing minor cosmetic scratches and small dents that may require attention.
If you leave your canoe uncovered, the sun and cold weather can cause the hull of your vessel to crack, and it can also cause discoloration. Repair any small scratches and discoloration yourself, and repair all cracks and weather damage before moving on.
7. Apply UV Protectant and a Coat Of Varnish If Necessary
After the entire canoe is cleaned and minor damage is repaired, it’s time to polish your vessel to make it look new again. Use a clean microfiber cloth to apply a UV protectant to your vessel's hull.
Not only will this UV protectant help your canoe regain its original shine, but it will also strengthen its exterior. UV protectants add an extra layer of protection against the sun’s damaging rays and can help your vessel last much longer.
Depending on your canoe’s construction materials, you may want to go further than a simple UV protectant. If you have a wooden canoe, you may want to apply a fresh coat of varnish, especially if you see old varnish cracking or flaking off after a long winter.
8. Confirm Seats and Cushions Are In Good Shape
Next, check your canoe’s seats. The last thing you want is to fall out of a broken seat on your maiden voyage this spring. Confirm the existing seat is still strong, with no visible wear and tear.
If you use cushions, you must confirm they are in good shape. Give them a deep clean. If they are floating cushions intended for safety, you should test their buoyancy.
9. Give Your Paddles A Thorough Inspection
Once your canoe is ready for the water, the next important piece of equipment you need to inspect is your oars or paddles. Regardless of whether you have strong wooden canoe paddles or cheap plastic ones, they all grow brittle and vulnerable over time.
If you store your oars outside in the winter and in the sun in the summer, there is a chance they may have cracked or warped. Check for cracks, chips, and other vulnerabilities. You should never paddle with a cracked oar or paddle, as there’s a chance it can break while you're offshore. Instead, repair or replace your damaged oars and paddles before your first voyage this spring.
10. Replenish First Aid Kit
Every year, every paddler needs to take inventory of their paddling first-aid kit. Medications, ointments, and other medical equipment expire over time. Ensure you have a fully stocked first-aid kit and replace any expired items.
11. Test PFDs
The last step every paddler must take before venturing out in a canoe (or any paddling vessel) is to test all PFDs. After a long winter, your PFD might not fit as well as it did in the summer. If you stored your PFD outdoors (which you shouldn’t), it may be damaged and ineffective.
Test your PFD for fit and effectiveness by wearing it and submerging it. Look for damage and other signs that your PFD is damaged before you put it on and launch your vessel.
Related Articles

These are the best canoes of 2024. Credit: girlseeingworld The best canoes of 2024 may not be what…

Inflatable SUPs (standup paddleboards) already have pretty lofty goals – offer much of the look, feel…

If you recently started the search for a new kayak then you know there are a lot of factors to…

Paddling is a great hobby to start at any time in life. Not only is paddling on the water an…